
How to Make an AI Hairstyle Preview Look More Realistic
Make an AI hairstyle preview more useful with a better source photo, one-variable tests, and a practical realism checklist before you decide on a haircut.
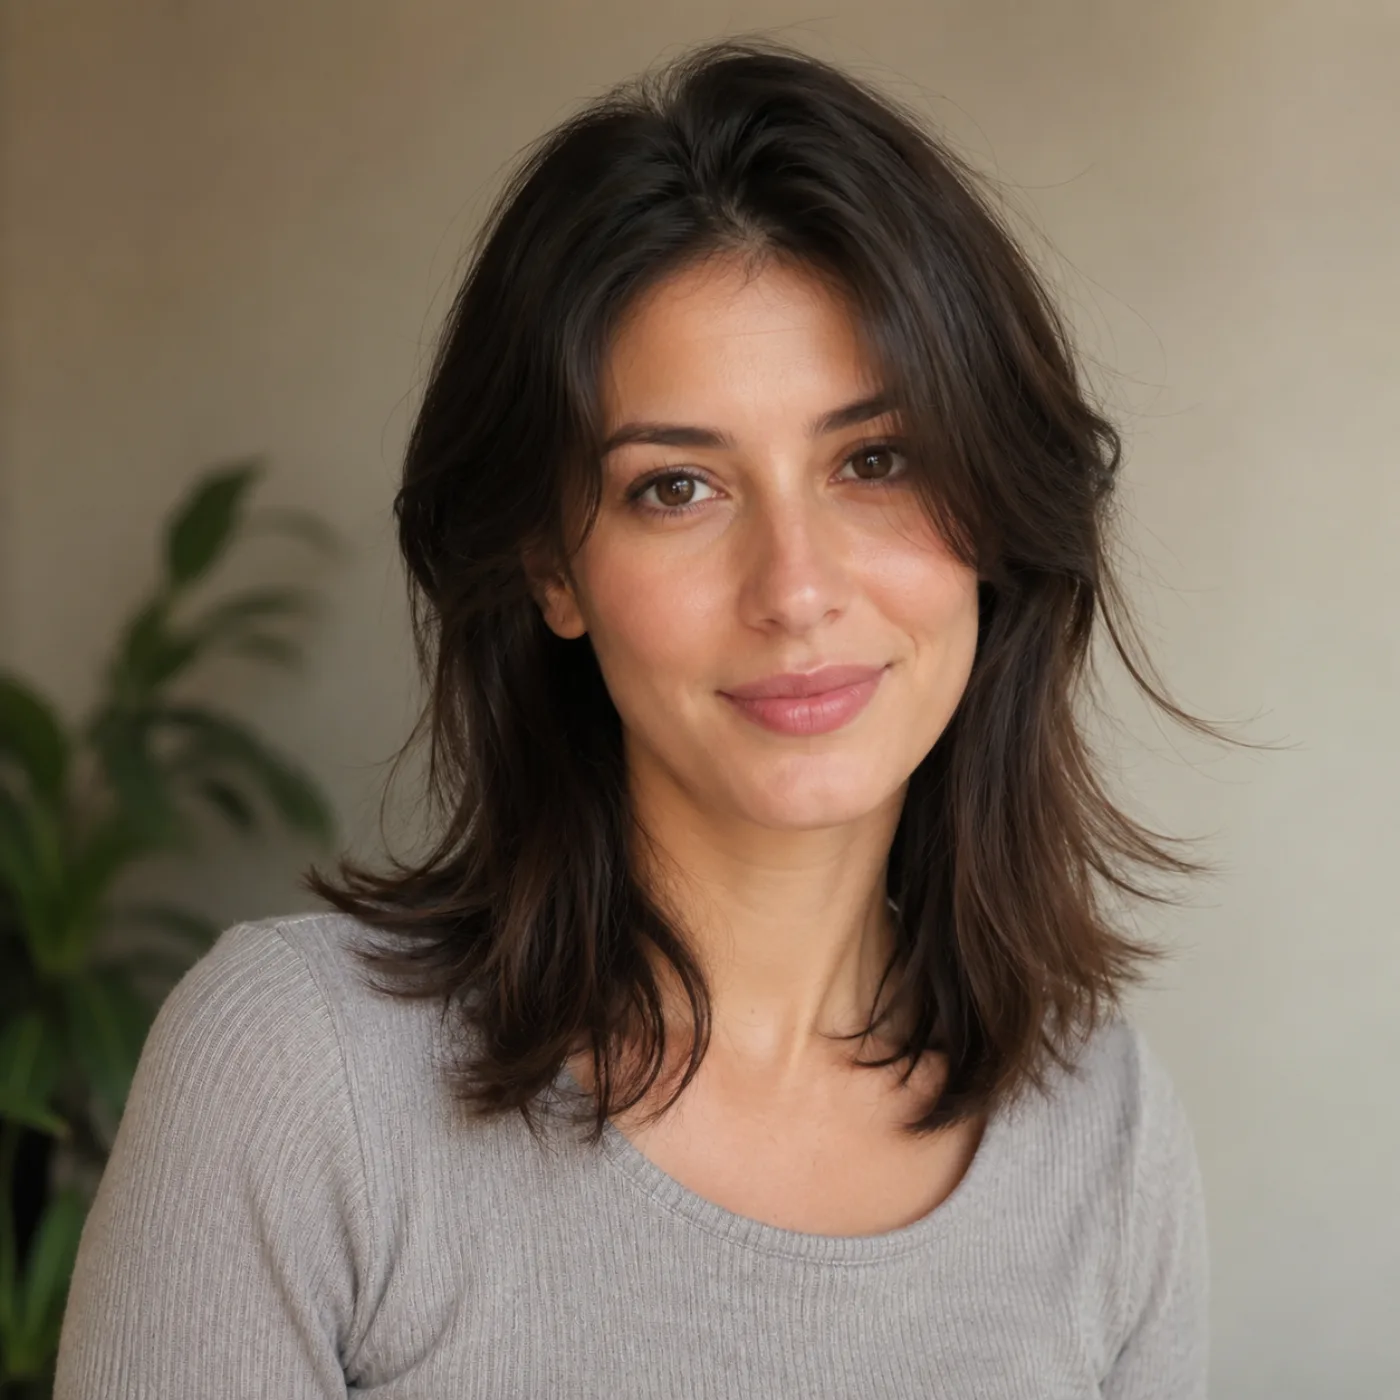
A realistic AI hairstyle preview starts with a clear photo and a narrow question. Keep your face, lighting, pose, and background stable; change one haircut feature at a time; then judge the result as a visual direction rather than a salon guarantee. A hairstyle try on is most useful when it lets you compare a small set of directions on the same portrait. A controlled hairstyle try-on is more useful than a dramatic makeover because it lets you see what the haircut is actually doing around your own face.
Last updated: July 16, 2026 - about 10 min read
The goal is not to trick anyone into believing a generated image is a photograph. The goal is to make a preview believable enough that you can compare length, fringe, volume, and face framing before you cut or dye anything. Small improvements to the source photo and prompt often matter more than adding more descriptive style words.
Start with a photo that gives the hairstyle try on a fair chance
Use a photo where the hairline, face, and shoulders are visible. Daylight or soft indoor light works well because it shows edge detail without strong shadows. A neutral expression is easier to compare than a pose with hair thrown across the face. Keep hats, heavy filters, sunglasses, and extreme angles for a different day.
A photo does not need to be professionally lit. It needs to make the relevant information legible. If your existing hair is tied up, cropped out, soaked, or hidden under a hood, the preview has less to work with. The result may still be attractive, but it is a weaker basis for a haircut decision.
The source-photo quality matrix
Before generating, use this table to decide whether to use your current image or take a fresh one. It identifies the issue that can make a preview unreliable and the smallest practical fix.
| Source-photo detail | Why it affects realism | Best quick fix | What not to do |
|---|---|---|---|
| Hairline is visible | The new style needs a believable starting point | Pull hair back lightly, then photograph from the front | Crop the image so only the forehead shows |
| Lighting is even | Shadows can look like a new hair color or density change | Face a window or soft room light | Use a flash beside a dark background |
| Shoulders are in frame | You can judge length and volume against the body | Take a chest-up portrait | Use an extreme close-up for a long haircut test |
| Background is simple | Clean edges help preserve the hair outline | Stand a short distance from a plain wall | Use a crowded mirror or moving group shot |
| Hair is dry and visible | It shows your everyday texture more honestly | Photograph your usual air-dried or styled state | Test a textured cut on wet hair only |
| Camera angle is natural | A straight-on or slight angle makes comparisons fair | Hold the phone near eye level | Use a wide-angle shot from below the chin |
The table is not about perfection. It is about removing avoidable ambiguity before you ask a system to change the hair.
Change one variable at a time
The most common reason a preview looks fake is not always the model. It is a prompt that asks for a complete transformation. If you request a pixie cut, curtain bangs, platinum color, new makeup, a beach background, and a profile angle in one step, you cannot tell which request caused the image to drift.
Start with your current color and ask for a cut only. Once you find a shape you like, make a separate color test. Keep the same length while you test fringe. Preserve your facial expression and background while you compare a blunt bob with softer layers. Controlled versions create a useful before-and-after set.
A simple prompt structure is enough: "Keep my face, skin tone, expression, clothing, lighting, and background unchanged. Change only my hair to a [specific hairstyle]. Keep the length at [reference point], the texture [natural/soft/wavy], and the result realistic." Use the same structure for every option so the difference remains the hairstyle.
A believable preview changes the hair while leaving the person and the photograph recognizable.
Inspect the result like a comparison, not a beauty filter
After a render, do not only ask, "Do I look good?" Ask what the haircut is doing. Is the fringe sitting at a plausible place? Does the length meet the jaw, shoulder, or collarbone where you expected? Is the volume consistent with the rest of the image? Are ears, glasses, hairline edges, and shoulders still coherent?
Pay special attention to the transition areas: hair near the forehead, strands around ears, the back of the neck, and where hair overlaps clothing. These are the details that tell you whether the edit is stable enough for your purpose. A minor edge issue may be fine if you are choosing between warm and cool color direction. It is less acceptable if you are trying to decide on a sharp fringe or a short, structured cut.
Make a three-version comparison instead of chasing one perfect image
For a meaningful haircut decision, make three related versions:
- A familiar version: close to your current length or styling routine.
- The change you are considering: the bob, buzz cut, bangs, layers, or curl direction you want to see.
- A middle version: less dramatic, longer, softer, or lower-maintenance.
This sequence is more useful than requesting ten unrelated styles. It reveals your tolerance for change. You may discover that the big chop is exciting in a single image but that the softer middle option looks more like you. Or you may realize you only liked the color, not the new length.
For a fringe decision, compare no bangs, light curtain bangs, and a heavier blunt fringe. For short hair, compare a collarbone lob, a jaw-length bob, and a pixie-inspired crop. Keep every other visible variable as stable as possible.
Know the limits before you book
An AI hairstyle preview cannot tell you how your natural texture will behave after a cut. It does not know your cowlick direction, density, shrinkage, bleach history, or the exact tools you use each morning. It cannot predict chemical damage or decide whether a color service is appropriate.
That limitation is not a reason to skip the preview. It is a reason to use the preview correctly. Let it answer the visual question: "Do I prefer face-framing layers or a blunt line?" Let a stylist answer the technical question: "Can my texture support that line with the maintenance I want?"
If you are mainly testing a color, use the AI hair color changer rather than mixing a complex cut into the same experiment. If you are testing bangs, use the bangs filter so the comparison stays focused.
Fix common realism problems
The face changes with the hair
Simplify the request and state what must be preserved: face, expression, skin tone, clothing, pose, lighting, and background. Start from a clearer source photo if the original is heavily filtered or in harsh shadow.
The cut looks like a helmet
Ask for a softer texture, a natural part, or a style that follows the existing hair direction. Very rigid words can create an overly uniform shape. Compare a shorter version with a slightly longer, layered alternative.
The result is flattering but not comparable
The tool may have changed the lighting, pose, or makeup along with the hair. Go back to the same original photo and request only the haircut. A less glamorous but consistent result is more useful for deciding.
The fringe or edges look strange
Try a photo with the forehead and ears visible. Ask for a lighter fringe or fewer dramatic strands. In a real salon, fringe direction depends heavily on the hairline, so use a preview as a conversation starter rather than proof.
Bring the best result into real life
Save the original photo and your two favorite controlled previews. Under each one, write a short note: "like the jaw-length shape," "want less crown volume," or "prefer this softer fringe." At a salon, show the notes as well as the image. This tells the stylist what you are responding to instead of asking them to copy pixels.
Be open to an adaptation. A good stylist may recommend keeping extra length, changing the part, reducing the fringe, or building layers slowly. That is not a failed preview. It is the moment where a visual direction becomes a haircut that works with your actual hair.
FAQ
What photo makes an AI hairstyle preview look realistic?
Use a clear chest-up photo with a visible hairline, even lighting, dry visible hair, and a simple background. A front-facing or slight-angle image makes length and face framing easier to judge.
Why does my hairstyle preview look fake?
The source photo may hide the hairline or edges, or the request may change too many things at once. Use a cleaner image, preserve the face and scene, and test one haircut feature at a time.
Can a realistic preview guarantee a salon result?
No. It can show a visual direction. A stylist still needs to assess your density, texture, cowlicks, hair history, and maintenance routine before making a real cut or color plan.
How many hairstyles should I compare?
Three related versions are usually enough: a safe option, the style you want, and a middle version. That set shows your preference more clearly than a long collection of unrelated cuts.
Make the comparison more honest
The most realistic AI hairstyle preview is not the most dramatic one. It is the one that keeps your original photo stable and makes the haircut easy to evaluate. Start with a clear source photo, test one change at a time, compare three related directions, and use your favorite results to guide a real conversation. Try the AI hairstyle changer when you are ready to make the next haircut decision clearer.