
How to Change Hair Color in Photoshop Without Changing Your Face
Learn how to change hair color in Photoshop without changing your face: isolate the hair, refine its edges, use adjustment layers, and keep lighting believable.
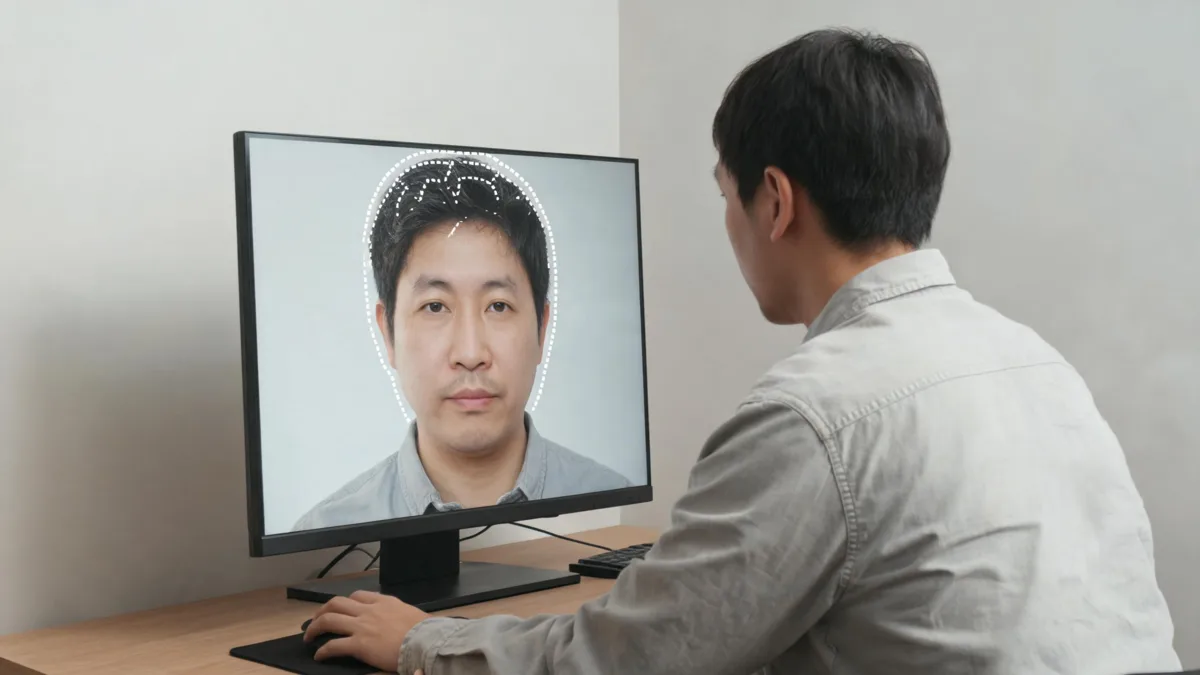
To change hair color in Photoshop without changing your face, first isolate only the hair, refine the edge around flyaways, then apply a masked adjustment layer instead of painting color directly on the portrait. Check the forehead, brows, ears, skin, and background after every adjustment. If you only need to compare a few color directions quickly, an AI hair color changer can be a faster visual-planning step; Photoshop is the manual-control route.
Last updated: September 6, 2026 · about 7 min read
The safe order: select, mask, adjust, inspect
The common failure in a hair-color edit is not choosing the wrong shade. It is letting the change leak into skin, brows, eyes, ears, or the background. Working non-destructively makes those mistakes reversible: the original portrait remains underneath, while the selection and color correction live on layers you can refine.
Adobe’s adjustment and fill layers guide describes why adjustment layers are useful for reversible edits. The exact panel names can differ by Photoshop version, but the workflow stays the same: restrict the adjustment to hair, preserve the original light, and inspect the boundary closely.
| Goal | Use this approach | Watch for |
|---|---|---|
| Change only visible hair | A careful selection and layer mask | Mask spills over the forehead, ears, brows, or background |
| Keep the face untouched | Put color on an adjustment layer, not the base photo | Global color shifts that affect skin tones |
| Keep texture believable | Preserve highlight and shadow variation | A single flat tint over every strand |
| Try several shades | Duplicate or adjust the correction layer | Repainting or reselecting the face each time |
If the face looks different, stop changing the color. The problem is almost always the selection or mask, not the shade slider.
Change hair color in Photoshop in three steps
- Make a hair-only selection. Start with the selection tool that gives you the cleanest broad shape for your image, then open Select and Mask to inspect the hairline, temples, ears, and loose strands. Do not include eyebrows, forehead, skin, or background just because they are close to the hair.
- Add a masked adjustment layer. With the hair selected, create an adjustment layer so Photoshop uses that selection as the layer mask. A Hue/Saturation, Color Balance, or Selective Color adjustment can each be appropriate depending on the image and the target direction. The important part is that the mask limits the edit to hair.
- Tune color while preserving light. Start subtly. Check whether highlights remain lighter and shadowed areas remain quieter. If the color becomes flat, lower the adjustment or refine the mask rather than covering the portrait with a stronger tint.
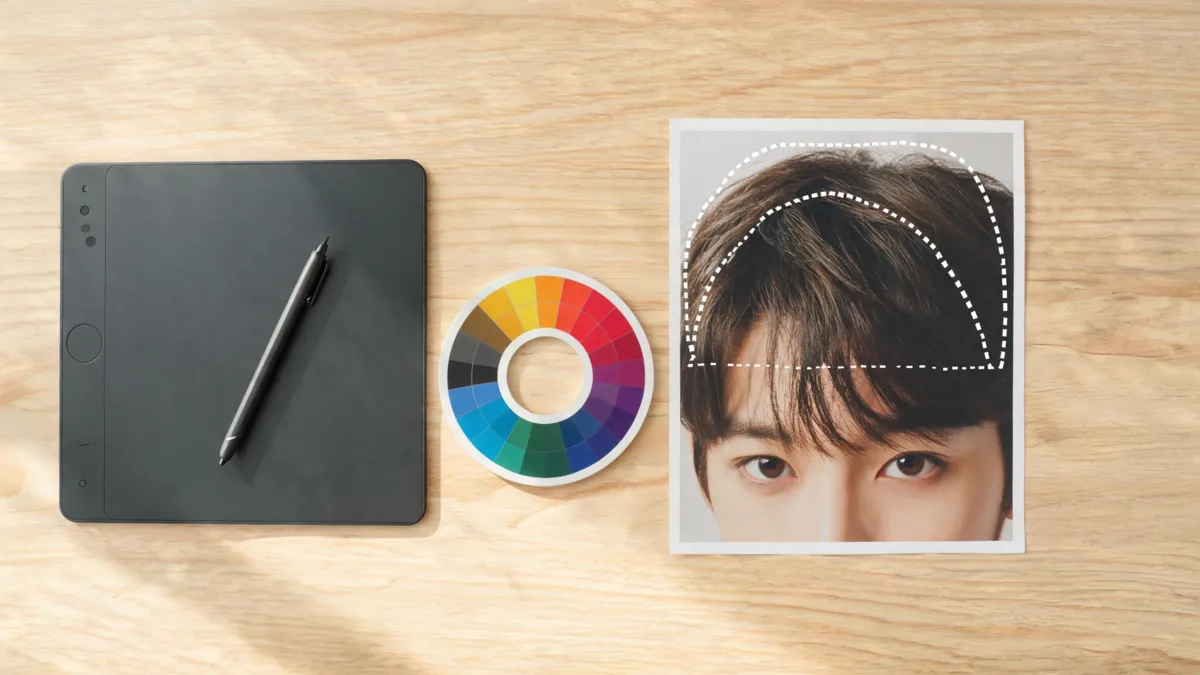
A non-destructive edit keeps the selection and color adjustment separate from the original portrait.
Refine the mask where a face can accidentally change
Zoom in once around the boundary, then return to a normal view. You are looking for whether the hair selection follows hair rather than the general outline of a head. The edge needs the most care at the temples, forehead, ears, neck, and flyaways against a contrasting background.
| Area to inspect | A good mask does this | Correct it when… |
|---|---|---|
| Forehead and temples | Stops at the natural hairline | Color touches skin or makes the hairline look painted |
| Brows and lashes | Leaves them unchanged | A warm or cool cast appears around the eyes |
| Ears and jawline | Keeps skin fully outside the correction | The color creates a halo on skin |
| Flyaways | Includes only strands you can identify as hair | The background turns tinted or the edge becomes a hard cutout |
| Roots and part | Preserves depth and the original direction of light | Roots become one uniform color with no dimension |
Use a soft brush on the layer mask for small repairs. Black conceals the adjustment, white reveals it, and gray can ease a transition; use the values your workflow supports, and make changes gradually. The target is not a mathematically perfect edge at 400% zoom. It is a believable result at the size where the photo will actually be seen.
Choose the adjustment by the visible problem
There is no universal slider setting for every hair color, because a photo’s light, existing color, and texture differ. Keep the edit narrow and judge the visible result.
| If you want to… | Try first | Reality check |
|---|---|---|
| Shift warmth or coolness | Color Balance or a restrained Hue/Saturation adjustment | Do not turn all highlights and shadows into the same hue |
| Make hair look darker | Preserve existing highlight detail while reducing brightness carefully | Very dark edits can erase texture and look like a helmet |
| Test a brighter direction | Make a subtle color-direction mock-up, then compare it with the original | A photo edit does not show whether real hair can lift to that shade |
| Compare two candidate shades | Keep the same selection and duplicate the adjustment layer | Use the same source photo and light for a fair comparison |
For fast early comparisons, use a controlled brown hair color changer or the broader AI hair color changer before you spend time polishing a manual edit. Keep the original file and treat any digital color as a visual direction, not a salon formula.
Watch a Photoshop hair-color tutorial
PHLEARN’s tutorial below shows how to change hair color in Photoshop; it is an editing demonstration, not a promise that a digital edit predicts a dye result.
Do not let a good edit become a dye prediction
Photoshop can help you explain a color direction, especially when you keep the face, light, and original image stable. It cannot account for your starting color, earlier treatments, porosity, formula, processing time, fading, or a patch-test result. The U.S. Food and Drug Administration’s hair-dye safety guidance recommends following the exact product directions and performing a patch test before each use.
If you take an edit to a salon, bring the original photo too. Say what you like in plain visual terms—“warmer near the face,” “less red,” or “more depth at the roots”—and let a qualified colorist judge what is realistic from your actual hair history.
Editorial disclosure: AIChangeHair is a visual-preview tool, not Photoshop and not a substitute for a colorist or product instructions. It does not determine a hair-dye formula, assess chemical safety, or guarantee an in-person outcome. Use only images you are allowed to edit or upload, and preserve your original file before making changes.
Frequently asked questions
Can I change hair color in Photoshop without changing my face?
Yes. Keep the selection and adjustment-layer mask limited to the hair, then inspect the forehead, brows, ears, skin, and background at normal size. If those areas shift, refine the mask before changing the color further.
What is the easiest Photoshop method for changing hair color?
A non-destructive workflow is to make a hair selection, refine it in Select and Mask, add an adjustment layer with the selection as its mask, and tune the color while preserving original texture and light. The best adjustment depends on the source image and target shade.
Why does a Photoshop hair-color edit look painted on?
Common causes are a hard selection edge, a mask that covers skin or background, a uniform color that ignores highlights and shadows, or an adjustment that changes the image outside the hair. Refine the mask and lower or reshape the adjustment before adding more color.
Is Photoshop or an AI hair color preview better for trying several shades?
Photoshop gives detailed manual control, while an AI preview can be faster for comparing broad color directions on one portrait. Neither option predicts a dye formula, chemical result, or salon outcome.
Related guides
- Try the AI hair color changer →
- Brown hair color changer: compare a natural direction
- Hair color filter: test shades before dyeing
- How to change hair color in a photo: a faster preview workflow
- What an AI hair preview cannot tell you
Keep the face, change the color direction
Make the smallest useful correction first, keep it on a mask, and compare it with the untouched original. If you need a faster first pass, preview a color direction on your own photo → before spending time on a detailed manual edit.