
Ginger Hair Color Filter: Compare Light, Natural & Deep Ginger Before Dyeing
Use a ginger hair color filter to compare light, natural, and deep ginger on one clear photo before you commit to a salon color conversation.
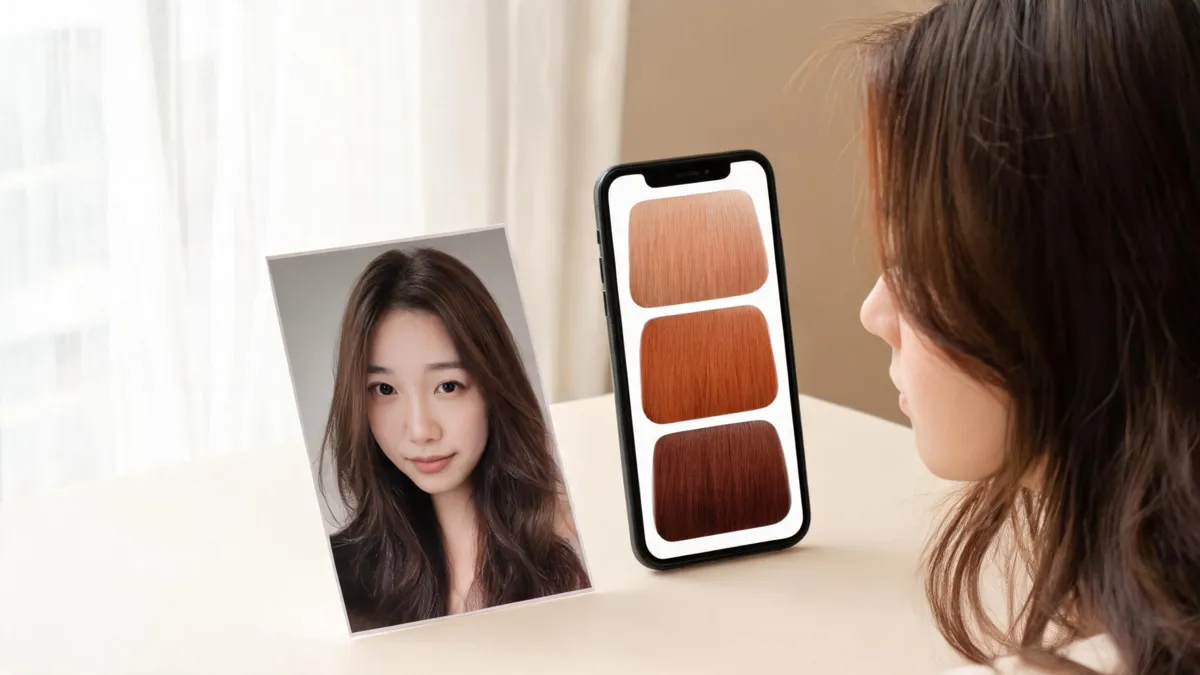
A ginger hair color filter is most useful when it lets you compare light, natural, and deep ginger on the same clear photo while everything except the hair color stays fixed. Start with the ginger hair filter, save the three closest options, and judge warmth at the hairline, depth through the lengths, and how believable the roots look. A preview can clarify a color direction; it cannot promise a dye result.
Last updated: September 18, 2026 · about 7 min read
Which ginger depth should you compare first?
“Ginger” is not one exact shade. It can lean pale and strawberry-like, read as a balanced natural red, or carry a deeper russet cast. The useful decision is not whether one swatch is universally flattering. It is which amount of warmth and depth you want to see on your own face in ordinary light.
Use the same original photo for every version. If the tool changes your skin, eye color, haircut, makeup, background, or face shape, discard that result. It is no longer a clean color comparison.
| If you want to test | Start with | Inspect in the preview |
|---|---|---|
| A quiet change from light brown or dark blonde | Light ginger | Whether the warmth looks soft at the temples and the roots still make sense |
| A recognizable red without going very bright | Natural ginger | Whether the color looks balanced from hairline to ends in neutral daylight |
| More depth than brightness | Deep ginger | Whether the richer russet tone reads dimensional instead of brown or burgundy |
| A salon-ready shortlist | Your nearest depth, then one step either side | Which difference you can explain in plain language |
Do not compare a light strawberry ginger, a vivid copper, and a dark burgundy in one round. They change both depth and color family, so you cannot tell what you actually prefer.
How do you make a ginger preview you can trust?
- Choose an honest starting image. Use a recent, unfiltered photo in soft daylight or even neutral indoor light. Keep the hairline, part, and enough length in frame. Warm lamps and sunset light can make any brown hair look ginger before the filter does anything.
- Run a controlled three-depth set. In the AI hair color changer, keep your cut, texture, face, lighting, and background unchanged. Make one light, one natural, and one deep ginger version rather than mixing in a new haircut or gloss effect.
- Save an observation with each image. Write a short note such as “too orange near my face,” “the roots look natural,” or “I like the richer ends but not the dark front.” That is more useful at a salon than saying only that one picture looks good.
The ginger hair filter is built around light, natural, and deep ginger directions, so it is a practical starting point for this specific comparison. Keep the original image next to all three outputs. A meaningful preview preserves the person and only moves the color question.
What should you look for in each version?
Root transition
Look closely where the hair begins. A result that starts as a flat orange band at the scalp or removes your natural part is not a helpful reference. The best saved image does not have to look like an instant salon photograph. It needs to show a believable direction that a colorist can discuss with you.
Warmth next to your skin in neutral light
Ginger can look entirely different under a yellow lamp, in a cool bathroom, and beside a window. Compare your files in the same neutral setting. If light ginger makes your face seem washed out, do not assume deep ginger is the answer; natural ginger may simply give you enough depth without turning the result auburn.
The ends and visible texture
Make sure the generated color follows the visible lengths instead of flattening them into a solid block. Texture, curls, waves, and layers catch light differently. If an image smooths all of that away, it cannot help you decide how a shade will read on your everyday hair.
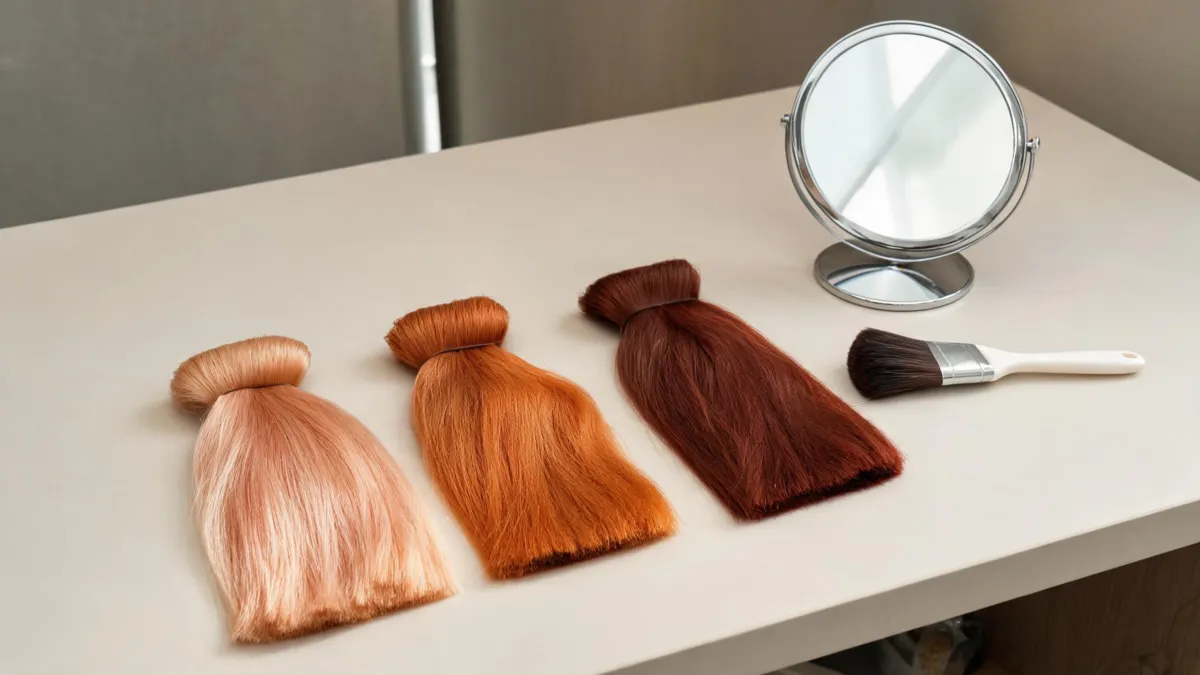
Compare nearby ginger depths in the same light; a good preview isolates color rather than changing your whole look.
Turn the preview into a useful salon brief
Bring the original photo plus no more than two or three controlled previews. Then explain the visible detail you want to preserve or change:
- “I prefer this softer warmth around my face, but not the brighter orange cast.”
- “I like the deeper russet through the ends, while I want the root to stay less dramatic.”
- “This is the overall ginger depth I mean; I know the exact result depends on my current color.”
That leaves room for the questions a photo cannot answer: existing dye or bleach, hair condition, gray coverage, formula, maintenance, and how many appointments would be realistic. The copper versus red hair guide can help if you are not sure whether your saved look is actually ginger, copper, or a stronger red family.
The American Academy of Dermatology advises choosing a dye within three shades of your natural color when coloring at home, and notes that larger lightening changes can require stronger peroxide. Its coloring and perming guidance is useful context when a preview makes you consider a large jump rather than a nearby ginger direction.
What the filter cannot settle
A preview does not know your hair’s color history, porosity, curl pattern, previous bleach, product formula, or how a color will fade. It cannot replace product directions or a professional assessment. Treat a generated image as a way to name what you like—not proof that the exact shade can be produced in one appointment.
If you are using a home dye, follow its directions and safety warnings. The U.S. Food and Drug Administration says to do a patch test before using hair dye, each time you dye. Stop if you develop a reaction and use the product instructions or a qualified professional instead of relying on a screen preview.
Editorial disclosure: AIChangeHair creates visual hair previews. It does not diagnose scalp or hair conditions, determine whether a product is safe for you, or guarantee a chemical color result.
Frequently asked questions
What is the difference between light ginger, natural ginger, and deep ginger?
Light ginger reads softer and closer to strawberry warmth, natural ginger sits in the middle, and deep ginger carries more russet or auburn depth. On a preview, compare them on the same source photo so the change in warmth and depth is the only variable.
Can a ginger hair color filter show my exact dye result?
No. It can help you compare a color direction on your own face, but it cannot predict lift, prior color, porosity, formula, processing, fading, or gray coverage. Use it as a salon reference rather than a chemical result.
What photo is best for a ginger hair preview?
Use a recent, unfiltered portrait in soft neutral daylight, with your hairline, part, and visible lengths in frame. Avoid strong warm lamps, heavy shadows, hats, beauty filters, and colored lighting because they can make ginger look more orange or darker than it is.
Should I try ginger before going lighter or darker?
Compare the ginger depth nearest to your starting color first. Then move one step lighter or deeper on the same image. That gives you a more useful preference than comparing several dramatic changes at once.
Related guides
- Try the free AI hairstyle changer →
- Ginger hair filter
- AI hair color changer
- Copper vs red hair: how to compare warm shades
- Hair color filter: test a shade before dyeing
Make the three-depth comparison on one honest photo, save the clearest preference, and use it to begin a realistic color conversation.