
Grey Hair Photo Editor: Review a Natural Gray Blend
Use this grey hair photo editor checklist to review a generated gray-blend preview for identity, hairline, roots, lighting, and believable contrast.
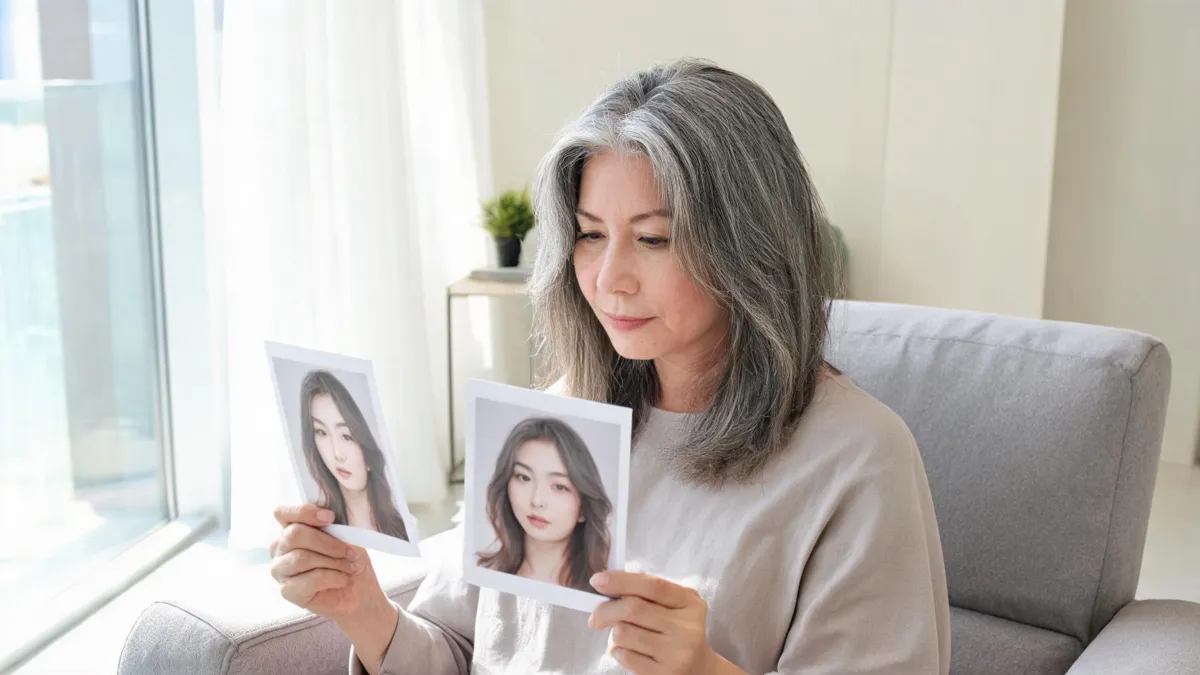
A grey hair photo editor is most helpful after it generates a preview: use it to decide whether the gray blend looks believable on you, not to choose the flashiest shade. Compare the result with your original in an AI hair color changer, then check identity, hairline, root transition, light direction, and contrast before saving it as a stylist reference. Reject any preview that changes your face or implies a salon outcome it cannot prove.
Last updated: September 5, 2026 · ~6 min read
What should a natural gray-blend preview show?
A convincing gray preview does not need to make every strand visible. It does need to keep the structure that makes the photograph yours: your face, hairline, part, head shape, original light, and the boundary between hair and skin. The gray should read as a color change within that existing structure—not as a gray cap placed over it.
That is different from “Which gray shade should I choose?” The gray hair filter guide compares shade directions before dyeing. This checklist starts after you have a result and need to decide whether to keep, share, or regenerate it.
L’Oréal Professionnel’s technical gray-blending guide shows why transition, depth, and placement matter; it is not a formula. Only a colorist who knows your hair can assess the process.
The five checks before you keep a gray preview
- Compare against the original at the same size. Put the unedited photo next to the preview. If the preview looks more polished only because it has changed your face, skin, teeth, makeup, or lighting, it has failed the comparison.
- Trace the hairline and roots. Look at the temples, center part, forehead, ears, and nape. The gray blend should begin inside the hair, with a plausible transition from root to length—not spill onto skin or erase every sign of regrowth.
- Check light and contrast. Gray strands can look bright where the original light is bright and quieter in shadow. A single flat gray from crown to ends often reads as a color overlay rather than hair with dimension.
- Inspect the edges. Zoom in once, then return to normal phone size. Reject smudged ears, merged eyebrows, broken flyaways, repeated strands, or a background that leaks through the hair.
- Decide what the image is for. A good salon reference communicates “soft gray around the face with depth at the roots.” It does not promise an exact result, a dye formula, a price, or a safe chemical process.
The best preview is not necessarily the one that makes you look most dramatic. It is the one that preserves enough reality to support an honest conversation about a color direction.
A review table for gray-blend results
| Review area | A useful result | Regenerate or reject when… |
|---|---|---|
| Identity | Face, age cues, skin texture, and head shape remain recognizably yours | Features, complexion, or facial proportions change |
| Hairline | Transition begins within your original hair boundary | Gray covers forehead, brows, ears, or skin |
| Roots | Some depth or a believable blend remains near the part | Roots disappear completely or form a hard painted band |
| Light | Silver areas respond plausibly to the original highlights and shadows | The whole head turns one identical gray regardless of light |
| Texture | Strands, curls, coils, or waves retain their broad pattern | Hair becomes plastic, duplicated, melted, or too smooth |
| Background | The original background stays separate from hair | Strands dissolve into walls, clothing, or jewelry |
| Salon use | It explains a preference in plain language | It is treated as a color formula or guaranteed result |
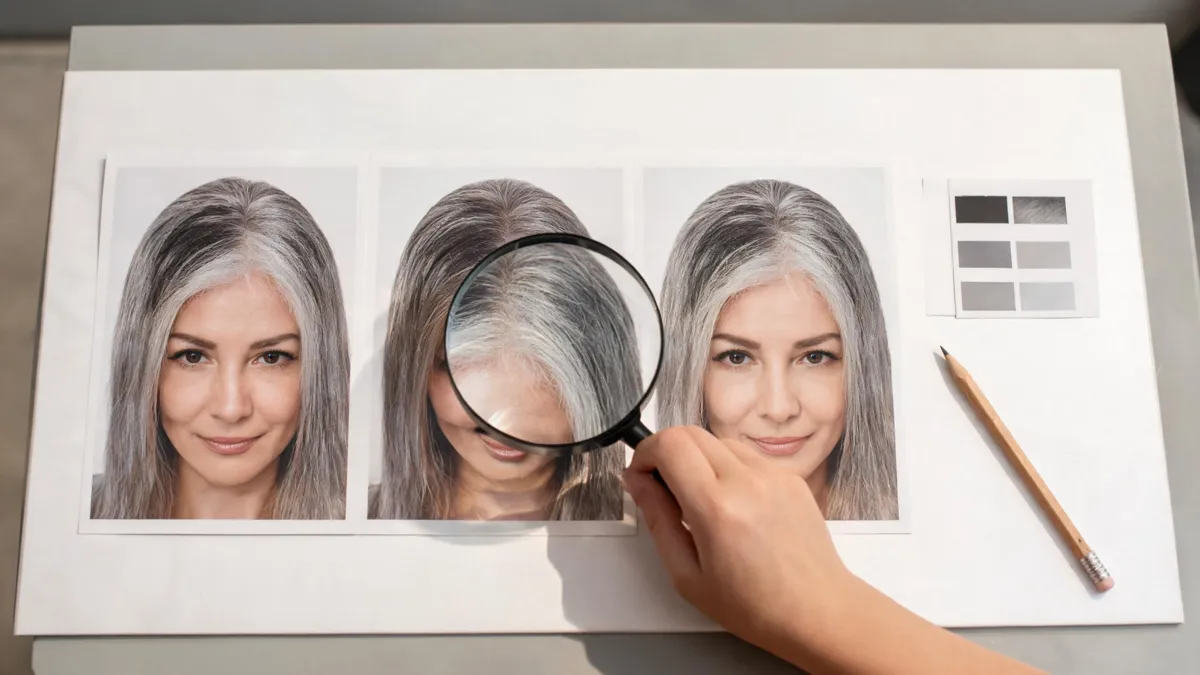
Editorial illustration: a useful gray preview is reviewed against the original for hairline, roots, light, and contrast.
Why roots and the hairline deserve the closest look
The hairline is where an edit has the least room to hide. A believable blend respects the forehead, temples, ears, and neck. It should not add a straight gray band, paint over baby hairs, or produce mismatched temples. A preview that retains root depth can be more useful than one that makes every inch uniformly silver.
Can you point to the transition and say, “This is a softer blend around my existing part”? If not, make a restrained request such as “keep my face, hairline, roots, lighting, and background unchanged; add a natural soft gray blend through the existing hair.”
For another controlled option, try the dedicated gray hair color preview. Keep the same photo while you compare only nearby directions—soft gray, more silver, or a subtler gray blend. Changing the cut, makeup, and lighting at the same time makes the result harder to judge.
Test the blend in ordinary light, not just the best render
Gray can look different in cool daylight, warm indoor light, shadow, or an automatic beauty filter. If the decision matters, use a second ordinary portrait. If only one highly posed image works, it may be a concept, not a dependable reference.
| If you see this | Try this next |
|---|---|
| The gray looks blue or too icy | Compare a softer, less saturated gray in the same photo |
| The face looks different | Reuse the original and explicitly ask to preserve identity and skin tone |
| The roots look painted on | Ask for a softer transition that keeps existing root depth |
| The hair looks flat | Keep the original lighting and request subtle dimension, not a uniform fill |
| The preview works only in one photo | Treat it as inspiration and ask a colorist about a practical direction |
Use the preview as a salon reference, not a formula
When you have one or two credible results, save the original and note what you liked: more brightness near the face, a quiet root transition, or silver that still leaves depth. Show both files to a colorist, who can assess your present color, previous lightening, texture, condition, budget, and maintenance tolerance.
Do not infer chemical safety from a realistic image. The U.S. Food and Drug Administration’s hair-dye safety guidance is a useful reminder that a visual result cannot establish how a color service will behave on your hair or skin. Follow the product and professional advice relevant to your actual service rather than copying a digital shade blindly.
Editorial disclosure: AIChangeHair makes visual photo previews; it does not diagnose hair condition, prescribe a color process, or guarantee a gray-blending outcome. Gray and grey are both common spellings in search; this guide uses “gray” for the color direction and keeps the target “grey hair photo editor” wording where helpful. Use only portraits you are allowed to upload, preserve the original file, and let a qualified professional make chemical-service decisions.
Frequently asked questions
What should a grey hair photo editor preserve?
A useful preview should preserve your recognizable face, original hairline, head shape, and the photo’s light direction. Gray or silver strands should sit inside the existing hair mass rather than cover skin, eyebrows, ears, or the background.
How can I make a gray hair preview look more natural?
Use a clear, unfiltered, front-facing photo in even light and request a restrained gray blend rather than several major changes at once. Compare it with the original and reject outputs that alter facial features, shift the hairline, erase roots, or add a uniform flat gray.
Can a gray hair preview tell me what salon service I need?
No. A photo preview can help you communicate a direction, but it cannot assess your hair history, porosity, current color, condition, chemical compatibility, appointment time, or maintenance. A colorist should make those practical decisions.
Should I keep visible gray roots in a preview?
Often, yes. For a gray-blend decision, a plausible root transition can be more informative than a perfectly uniform result. Check whether the blend softens the meeting point between your natural regrowth and lengths without drawing an artificial stripe around the hairline.
Related guides
- Try the AI hair color changer → — compare a restrained color direction on your own photo.
- Gray Hair Filter: choose a gray or silver direction before dyeing
- Gray hair color preview: test a lighter or softer blend
- Hair color filter: compare shades before dyeing
- Hair color for your skin tone: narrow a direction
Ready to review a gray direction more carefully?
Generate a restrained gray preview →, keep the original beside it, and save only the versions that still look recognizably like you.