
Bleached Hair Filter: Preview a Lighter Look Before You Bleach
Use a bleached hair filter to save a lighter-hair visual target, then prepare the practical questions a photo preview cannot answer before bleaching.
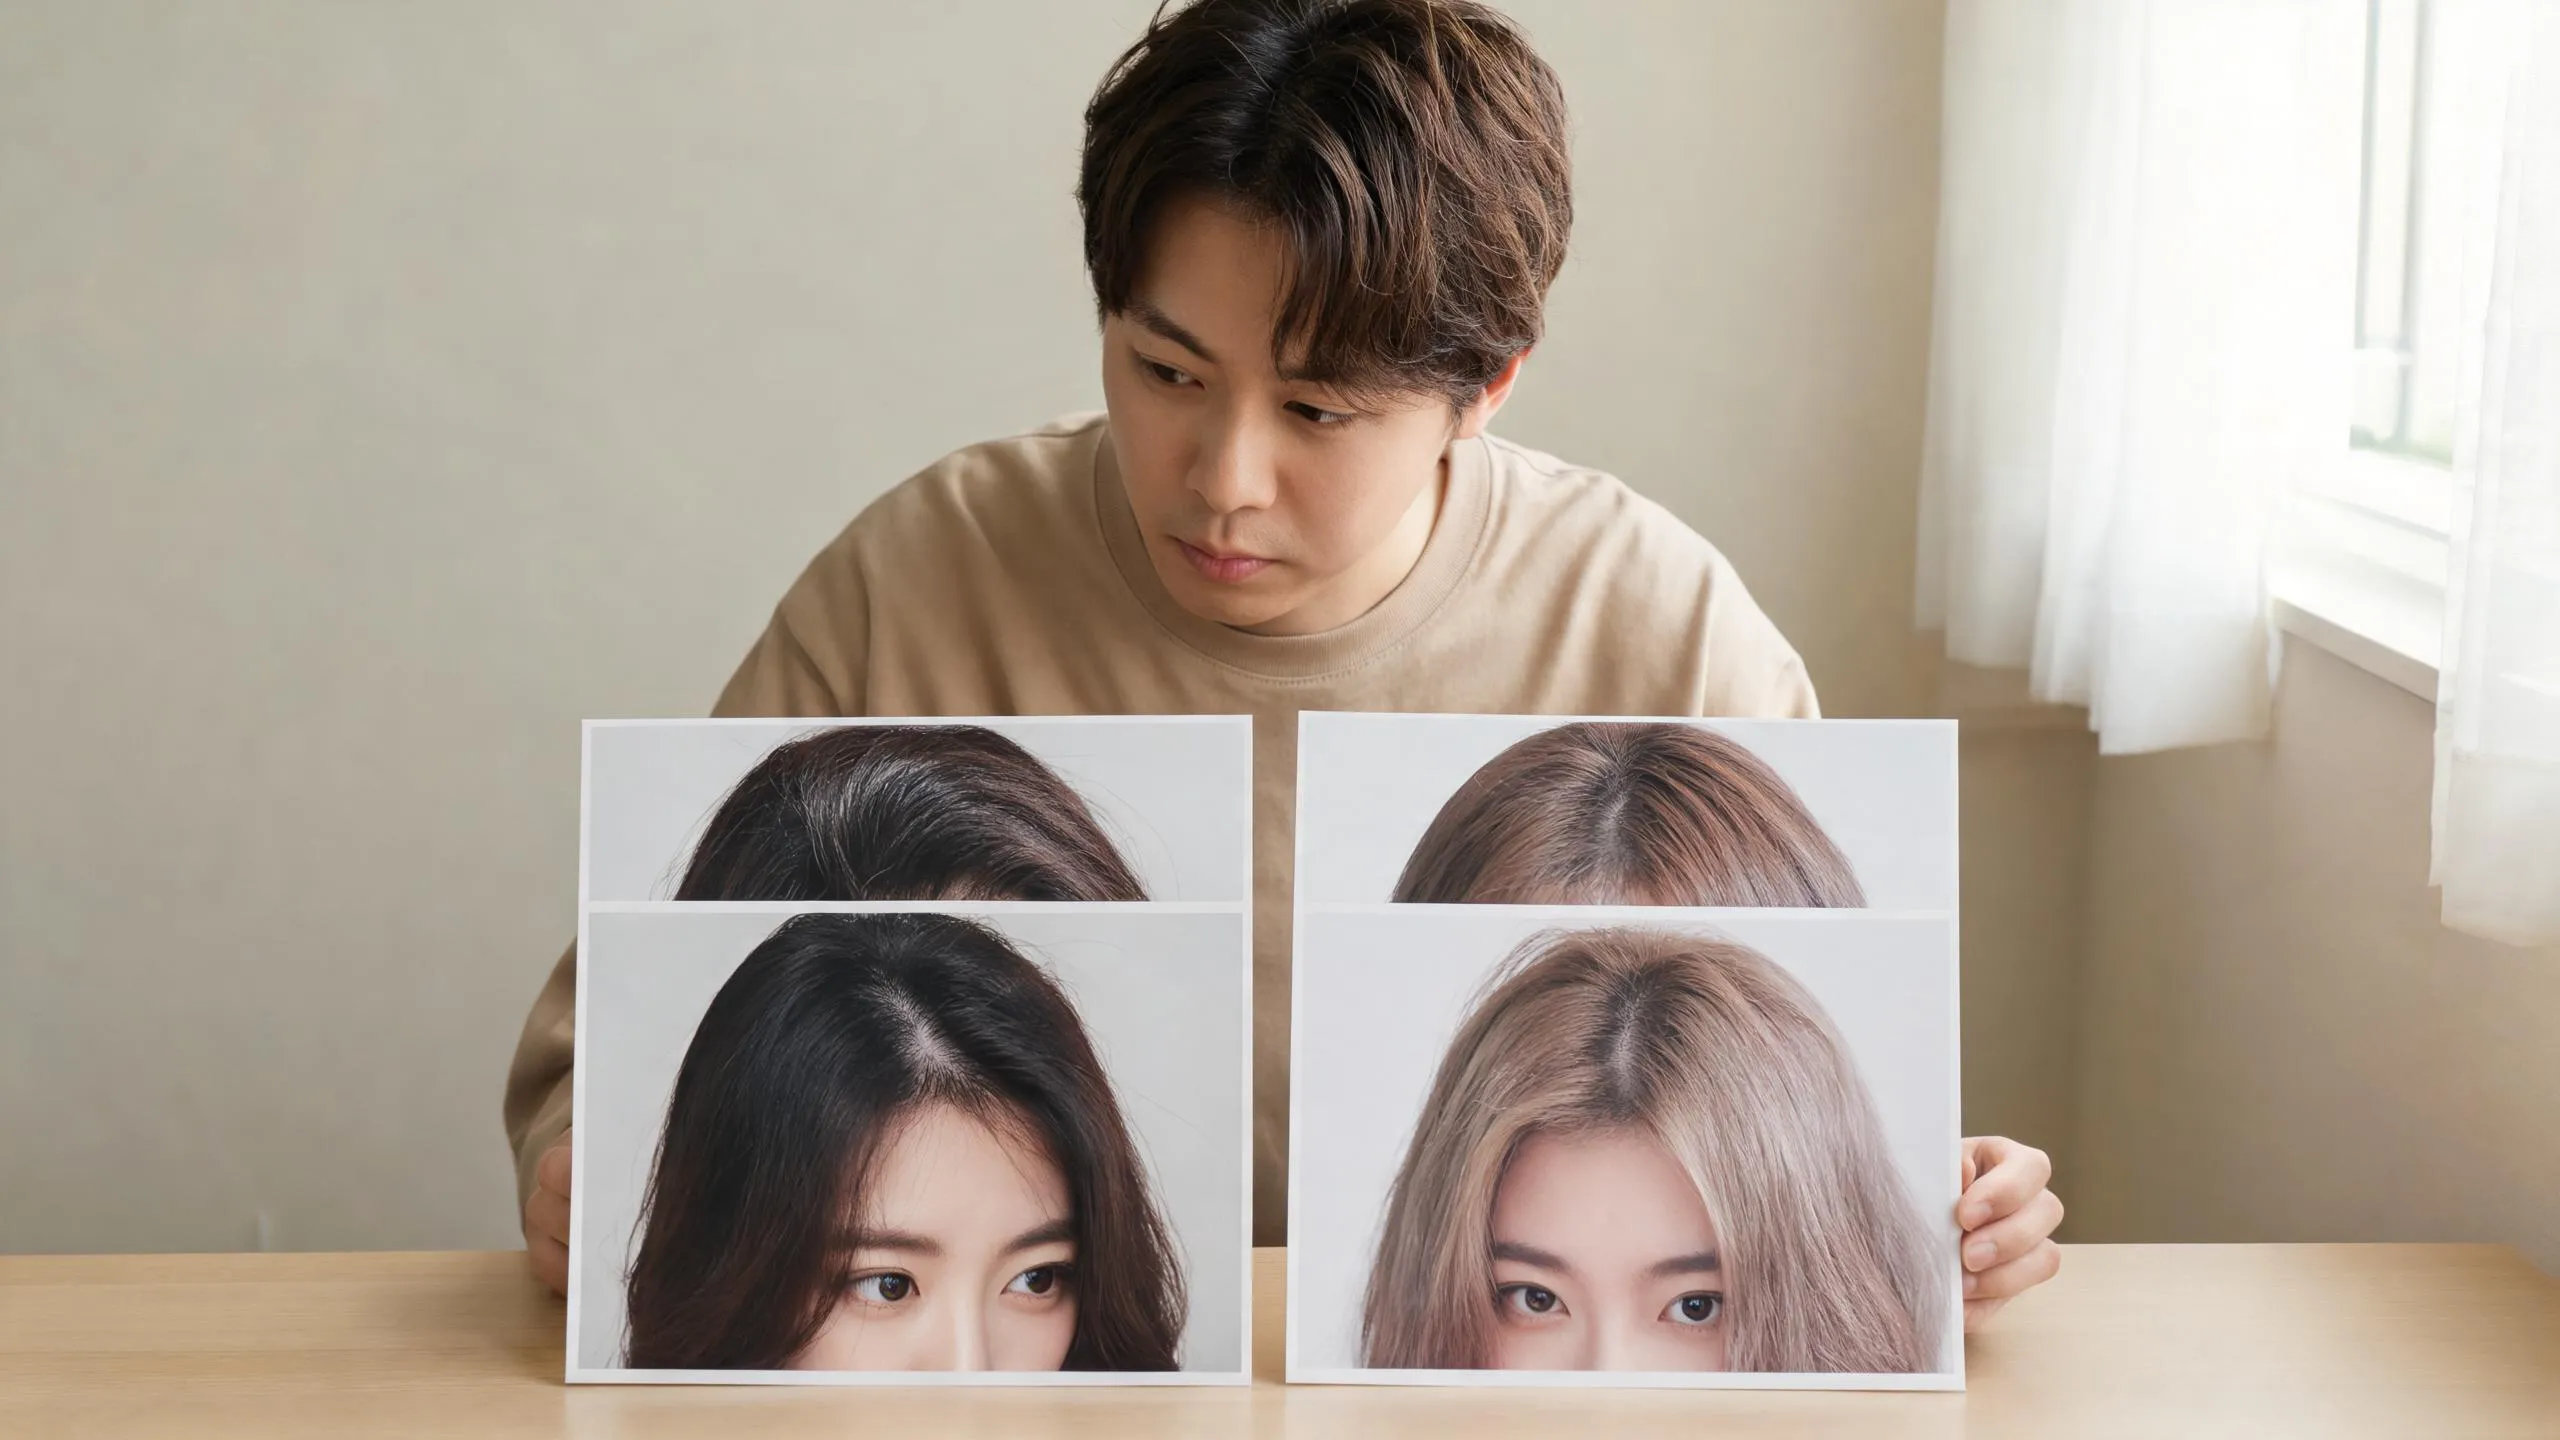
A bleached hair filter is useful for choosing a lighter visual direction before you commit—not for predicting whether bleaching is suitable for your hair. Use an AI hair color changer to compare a few realistic-looking shades on the same clear photo, save the target you prefer, then take that reference and your hair history into a careful salon or product decision.
Last updated: September 11, 2026 · about 7 min read
Use the filter for the decision it can answer
The useful question is not “Will this filter give me bleach-blonde hair?” A photo cannot answer that. It can answer a smaller, practical question: “Do I prefer this lighter direction enough to investigate it further?”
Start with your normal hair in neutral light. Use the same original image while you compare three close directions: perhaps a natural-looking lighter shade, a cooler blonde, and a version with more depth at the root. The blonde hair color changer is a direct place to make that comparison.
| A visual preview can help with | A visual preview cannot establish |
|---|---|
| Whether a lighter tone changes the contrast around your face | What is achievable from your current hair |
| Whether you prefer a cool, warm, or neutral-looking direction | How prior color services affect a process |
| Whether you like visible root depth in the image | What product, technique, timing, or maintenance is right for you |
| A clear reference for a consultation | Whether a dye or bleach product is safe for you to use |
Treat the lightest image as a reference, not a promise. The gap between a good-looking digital target and an appropriate real-world plan is exactly where a photo has to stop.
Make a useful lighter-hair comparison in three steps
- Begin with a clean original. Use a recent, unfiltered photo with your hairline, part, and visible lengths in even daylight. Skip colored lights, smoothing filters, hats, and strong backlighting. If the base photo is hard to read, every lighter version will be hard to judge.
- Change one visible variable at a time. Compare depth and tone before trying an extreme change. For example, hold the cut, face, and background steady while you look at a rooted light blonde, a softer beige blonde, and a cooler light blonde.
- Save the reason you prefer each result. Write a note such as “I like the lighter pieces around my face,” “this is too cool next to my brows,” or “I prefer a little depth at the root.” That turns an attractive picture into a usable brief.
The most valuable output is often not the brightest result. It is the image that helps you explain a preference without asking someone else to guess what you mean by “lighter but still natural.”
Read the preview like a consultation reference
Take a minute after the first surprise of seeing lighter hair. Compare the images in the same order every time, and look at the parts of the decision that are actually visible.
| Look at | Ask yourself | Why it matters for the brief |
|---|---|---|
| Root depth | Do I like a softer transition near the scalp? | It gives a colorist language for the visual contrast you prefer |
| Tone | Does this read warm, neutral, or cool next to my skin? | It distinguishes the mood you want from the word “blonde” |
| Brow contrast | Do my brows feel much darker in this version? | It helps you assess the overall face framing in the image |
| Everyday context | Do I still like it with my usual clothes and lighting? | It prevents one polished photo from doing all the deciding |
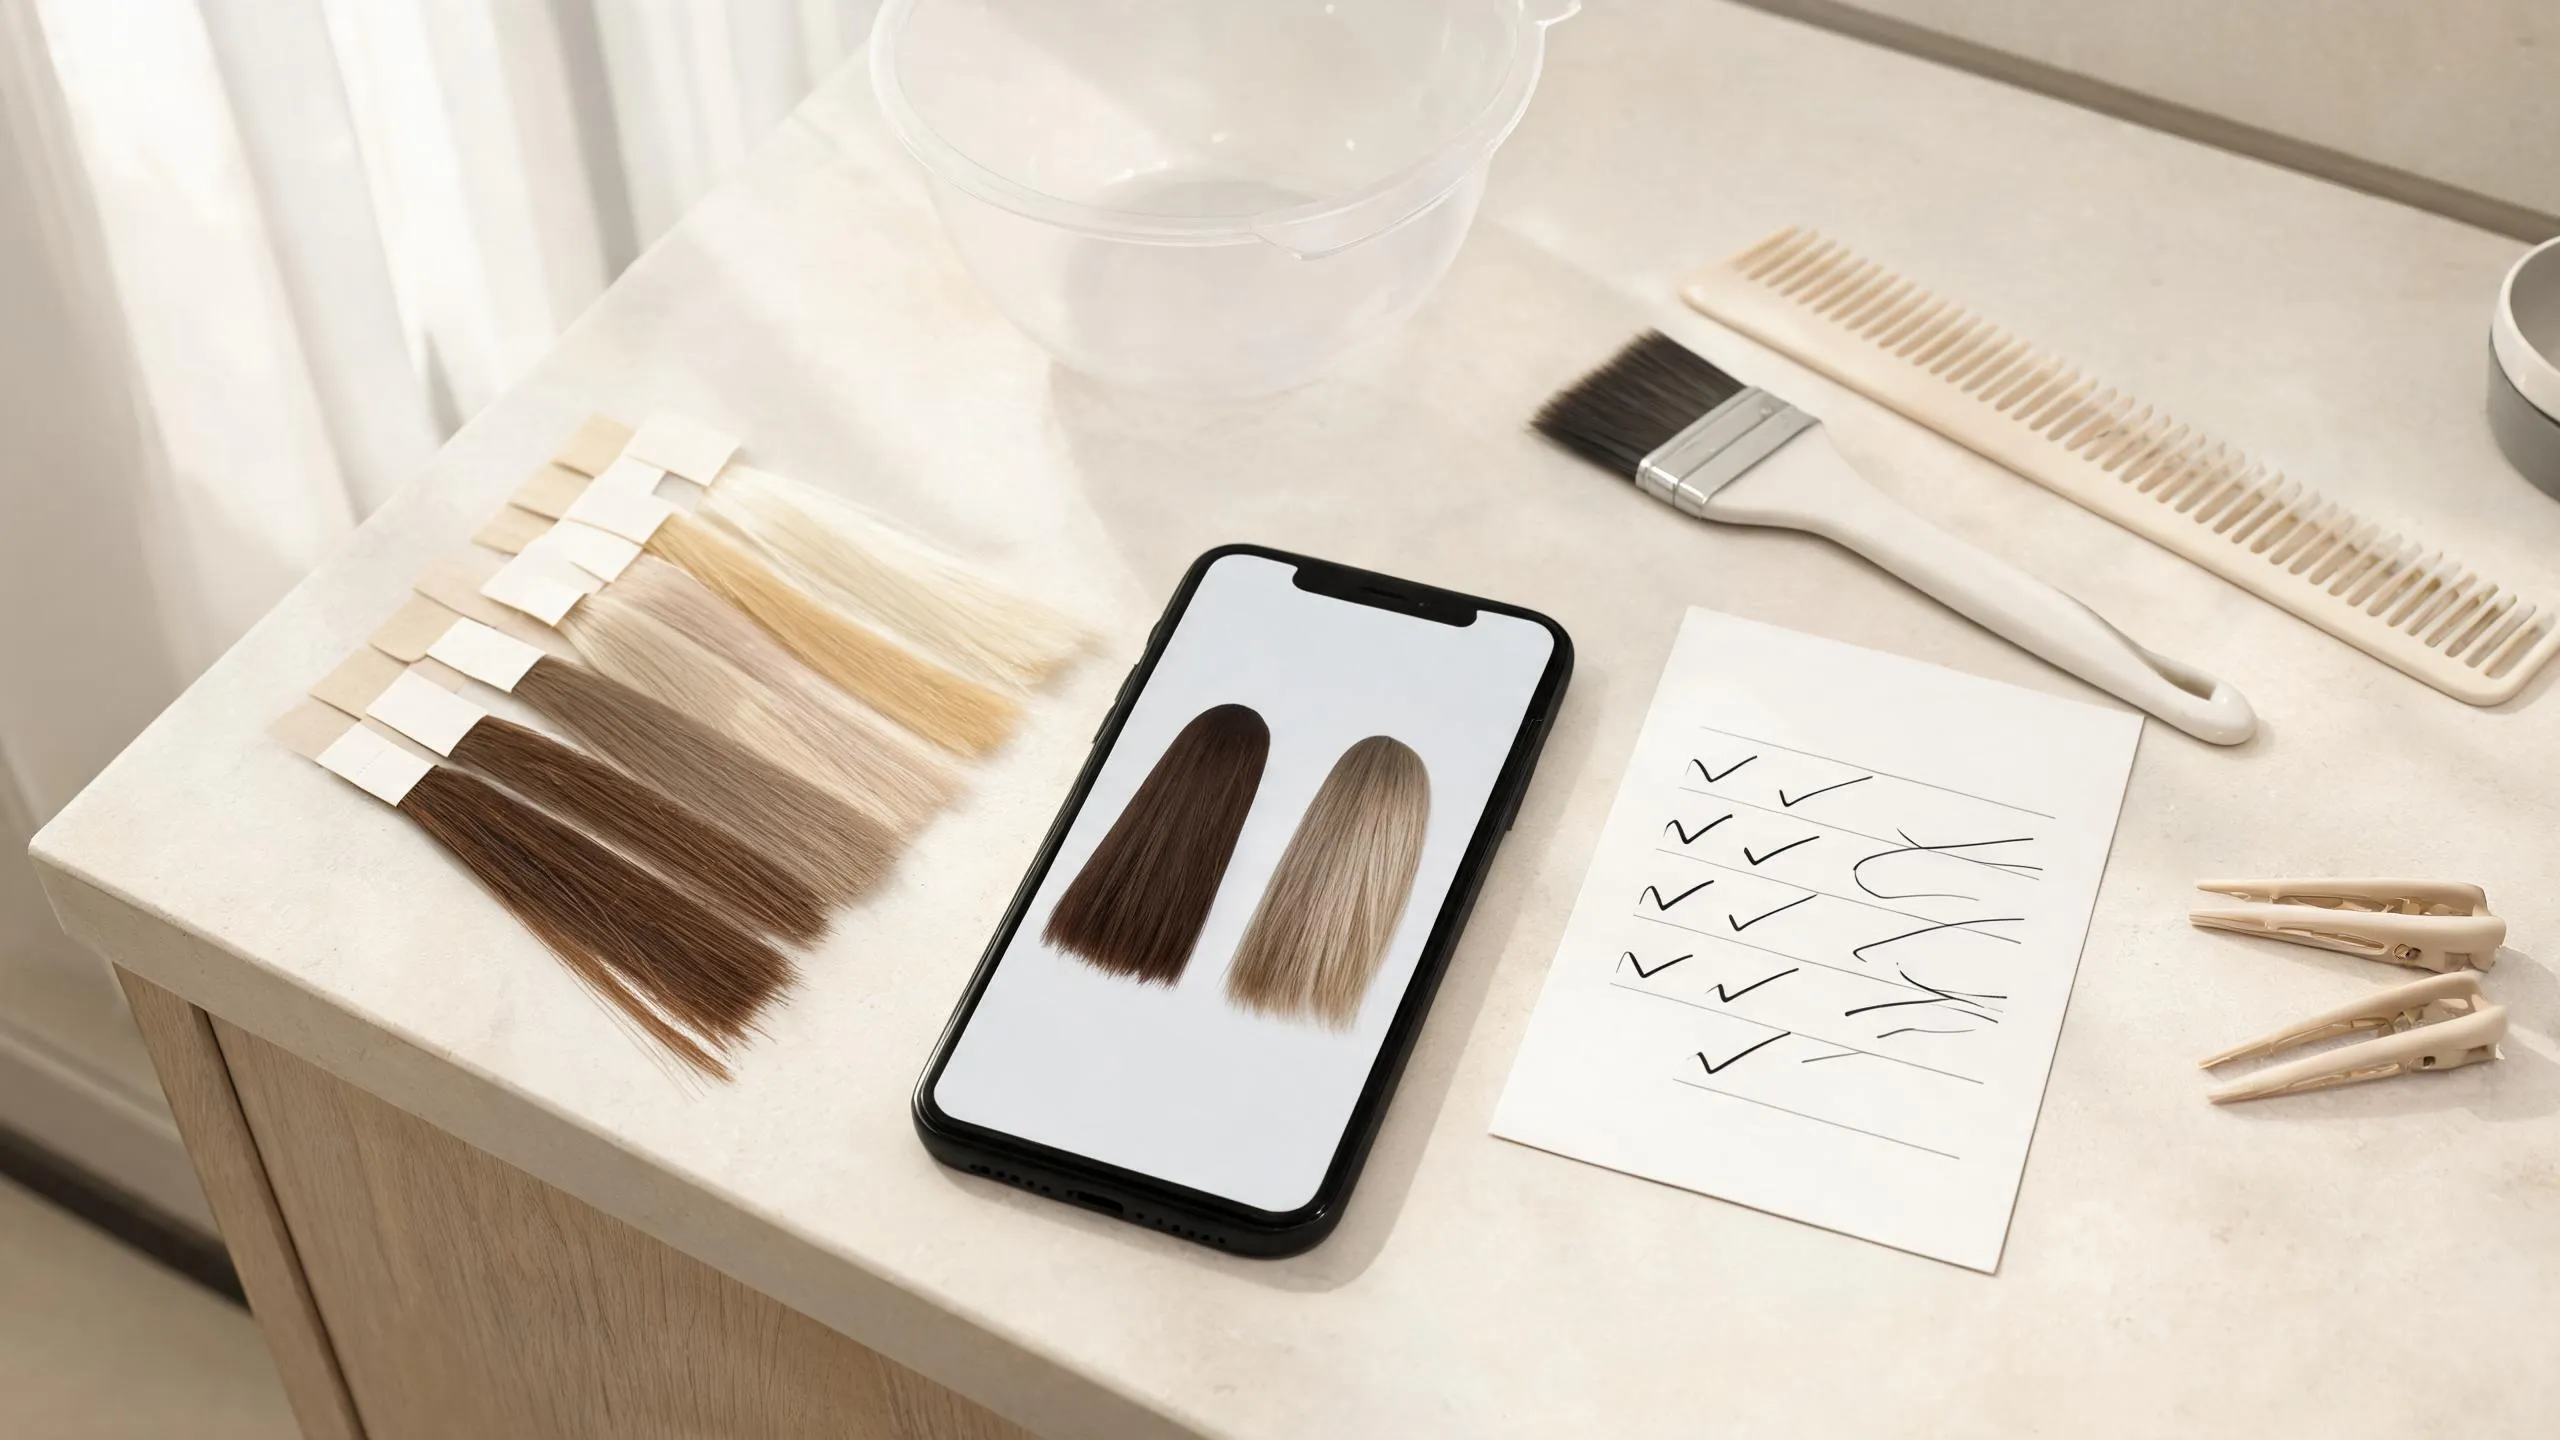
A small set of nearby shade references is easier to discuss than a folder of unrelated makeovers.
If a result changes your face shape, skin texture, lighting, or haircut along with the color, set it aside. It may still be inspiration, but it is weak evidence for a color decision. A second test with a more ordinary photo is a useful reality check.
Prepare the questions a filter cannot answer
Before you bleach or book a lightening service, keep the visual target and collect the missing context. A photo does not know your starting color, previous coloring, prior lightening, current condition, sensitivities, budget, or comfort with maintenance. Those are not small details; they are the information that makes the next conversation specific.
Bring your original image, your two or three closest previews, and a plain-language history. You might say:
- “This is my current hair in daylight, and this is the lightness I like.”
- “These are the color services or home products I remember using.”
- “I prefer the softer root in this preview over an all-over very light look.”
- “What would I need to maintain a result in this direction?”
- “What should I know about the condition of my hair before deciding?”
For any dye product you use, read the label rather than treating a preview as safety advice. The U.S. Food and Drug Administration's hair-dye safety guidance says to follow package directions and do a patch test before each use. That guidance does not turn a filter into a safety assessment; it is a separate, necessary step.
Keep the target honest after the preview
Save the original alongside the edited images. In a consultation, that prevents the reference from hiding your starting point. It also makes it easier to discuss what you like about the image—brightness around the face, a creamy tone, or a little root depth—without insisting that every pixel must be reproduced.
The existing platinum blonde filter guide is useful if you are deciding among cool, creamy, and rooted pale-blonde references. This article answers a different question: how to use any lighter-hair preview before the practical feasibility conversation begins.
For more on keeping a generated result in perspective, see how to make an AI hairstyle preview more realistic. A realistic-looking image is still only a visual tool; it is not a formula, diagnosis, or guarantee.
Editorial disclosure: AIChangeHair provides visual previews, not hair, scalp, or chemical-safety advice. It cannot determine whether bleaching or dyeing is appropriate for you or guarantee a salon result. Use a preview to communicate a visual preference, then follow product instructions and seek qualified advice appropriate to your situation.
Frequently asked questions
Can a bleached hair filter show my real result?
No. It can help you decide whether you like a lighter visual direction on your face. It cannot determine what your starting color, previous services, condition, product choice, or processing will allow.
What should I compare in a bleached hair preview?
Compare only a few nearby lighter directions on the same original photo: the depth at the root, the warmth or coolness, and how the shade changes contrast around your brows, eyes, and usual clothing.
Should I show a hair filter to a colorist?
Yes. Bring the unedited original and two or three close preview images. Explain what you like visually, then share your current color, color history, and maintenance expectations so the colorist can discuss what is realistic.
Does a preview replace hair-product safety directions?
No. A visual preview has no safety information. Follow the exact instructions and warnings for any product you use. The FDA advises people who dye their hair to follow package directions and do a patch test each time they dye.
Related guides
- Try the free AI hairstyle changer →
- AI hair color changer
- Blonde hair color changer
- Platinum blonde filter
- Hair color filter: test a shade before dyeing
Save the target, then ask better questions
Try the AI hair color changer with one honest source photo, keep the closest lighter-hair references, and use them to make the real next step clearer.