
How to Use AI Hairstyle Filters on TikTok: Test a Cut Before You Post
Use AI hairstyle filters on TikTok for a quick idea, then make a controlled photo preview before you record, post, or book a haircut.

To use AI hairstyle filters on TikTok well, start with a current effect for a quick idea, then test the haircut on one clear photo before you record or post. A short-form effect can make a cut feel exciting, but a controlled AI hairstyle changer lets you keep the same face, light, and pose while you compare one haircut direction at a time. Save the original, reject any result that changes more than the hair, and treat the final image as a conversation starter—not a haircut guarantee.
Last updated: September 22, 2026 · about 7 min read
Start with TikTok, but do not confuse an effect with a decision
TikTok effects are useful for the first question: “Is this direction interesting enough to explore?” They are not a dependable answer to “Will this cut work on my real hair?” A current effect may be moved, renamed, or removed, and the result changes with camera angle, light, and how well the effect finds the hair around your face.
TikTok’s own Effect House Hair Color guide illustrates the limitation: effects can vary coverage, opacity, lightening, and intensity. Those are visual controls, not a reading of your hair density, texture, curl pattern, or salon plan.
| Use the TikTok effect for | Use a controlled photo preview for |
|---|---|
| A fast first reaction to a trend or shape | Comparing two nearby haircut directions on your own face |
| A short clip you plan to make for fun | A reference you may save or show a stylist |
| Seeing whether the effect tracks your hair at all | Checking hairline, part, visible length, and face framing |
| One moving, in-the-moment result | Returning to the same original photo days later |
A useful filter result changes the haircut idea. If it also gives you a different face, skin texture, room, or lighting, it is entertainment—not a clean comparison.
How to use AI hairstyle filters on TikTok in three steps
- Find a current effect and test its tracking. Open TikTok’s Effects area and search for hairstyle, hair, or a specific cut. Film in neutral, even light. Turn your head slightly and look at the hairline, temples, ears, and loose pieces. If the effect jumps, covers skin, or loses the part, do not use the clip as a decision tool.
- Make one controlled preview before you post. Use one recent, unfiltered photo with your hairline and shoulders visible. In the AI hairstyle changer, compare one change at a time: for example, your current length against a soft bob, or a longer layer against a shorter layer. Keep the pose, light, clothes, and background stable.
- Name the reason you prefer one result. Write one plain-language observation: “I like the shorter shape around my jaw,” “I want less fringe over my eyes,” or “this looks too flat at the crown.” That note is more useful than saving ten unrelated trend clips.
If fringe is the real question, try a bangs filter before mixing bangs with a brand-new length. If you are considering a much shorter silhouette, use the buzz cut filter or the short-hair checklist as separate comparisons. A good test answers one choice at a time.
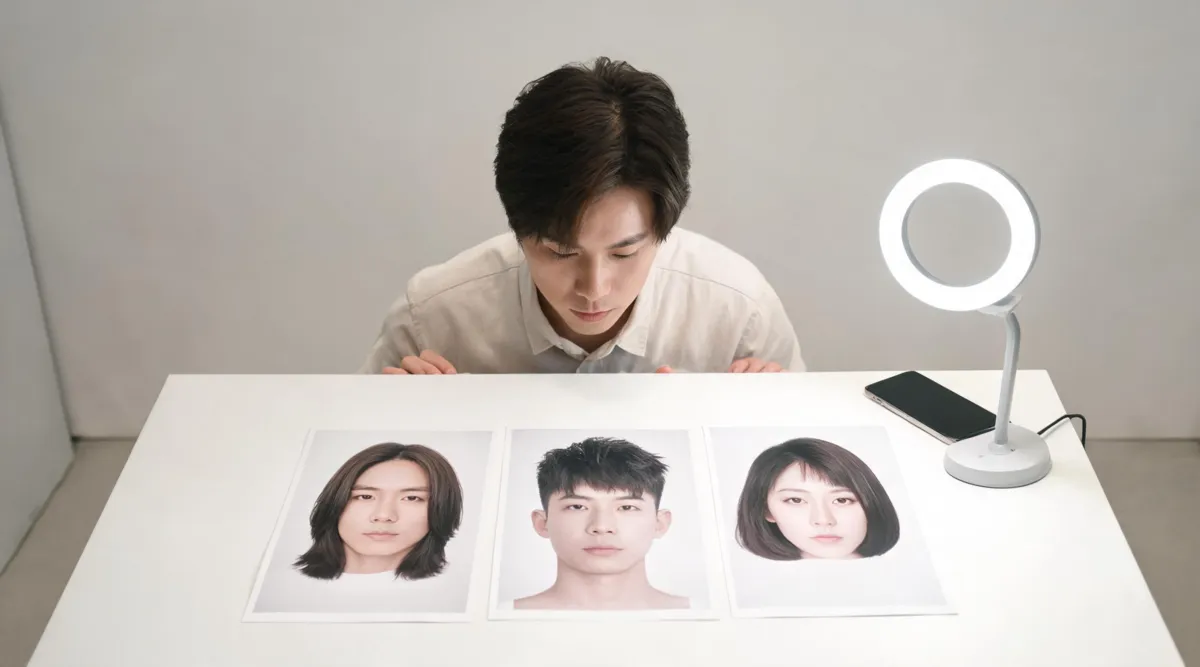
Treat a trend as a starting point. A controlled comparison is what lets you name the cut detail you actually prefer.
Check the result before it becomes a post or haircut reference
Before you record a transition, save a draft, or send a screenshot to a stylist, compare the preview with the original. The table below is deliberately simple: it keeps the attention on whether the haircut idea survived the edit, rather than whether the image looks generally more polished.
| Check | Keep the result when… | Rerun or skip it when… |
|---|---|---|
| Face and identity | You still recognize the same features, skin, and proportions | The filter reshapes the face, adds makeup, or smooths skin heavily |
| Hairline and part | The new shape begins at a believable hairline and follows the visible part | Fringe floats, scalp disappears, or color spills onto skin |
| Cut and length | The difference is easy to describe in one sentence | The result changes length, volume, and texture all at once |
| Light and background | They match the original closely enough for a fair comparison | A new studio glow or background is doing most of the flattering work |
| Posting context | You can label it as an AI preview if a viewer could mistake it for a real haircut | The edit would mislead people about an actual service or current look |
For a trend post, the first effect may be enough. For a real haircut decision, save the untouched photo beside one or two controlled options. A stylist can then connect your preference to the things a screen cannot see: density, growth patterns, texture, maintenance, and how the shape will behave after a wash.
Watch a verified TikTok AI haircut tutorial
The video below directly addresses the TikTok AI hair trend. DataForSEO verified the video for the exact query “how to use ai hairstyle filters on tiktok,” confirmed it is embeddable, and reported 7,763 views on September 21, 2026. It is a tutorial for a social trend; use the quality checks above before treating any effect as a real-hair prediction.
Keep the hair decision separate from the trend
An AI preview cannot tell you whether a particular haircut is practical for your routine, whether it will suit your natural texture without heat styling, or what the grow-out will feel like. It also cannot replace a consultation with a qualified professional who can see your hair in person.
Use the effect to get a reaction. Use the controlled preview to narrow a choice. Then keep the original image, one useful variation, and a short note about the detail you want to discuss. That is enough to make a TikTok idea more honest and more useful.
Editorial disclosure: AIChangeHair provides visual previews. It does not evaluate hair condition, guarantee a haircut outcome, or replace professional advice. Upload only images you are allowed to use.
Frequently asked questions
How do I find an AI hairstyle filter on TikTok?
Open TikTok’s Effects area and search for a current hairstyle or hair effect. Effect names and availability can change, so judge the result you see now rather than relying on an old tutorial. Use neutral light and make sure the effect can see your hairline before recording.
Can a TikTok AI hairstyle filter show how a real haircut will look?
It can give you a quick visual idea, but it cannot predict your hair texture, density, cowlicks, styling routine, cutting technique, or grow-out. Use it to choose a direction, then discuss what is realistic with a qualified stylist.
What is the best photo for an AI haircut preview?
Use a recent, unfiltered portrait in even light with your hairline, ears, part, and shoulders visible. Keep hats, sunglasses, strong beauty filters, and very dark shadows out of the first comparison.
Should I post the first AI hairstyle result I get?
Not if the result changes your face, lighting, skin, or background as well as your haircut. Save the original and compare one controlled variation at a time so viewers and your future self can tell what changed.
Related guides
- Try the free AI hairstyle changer →
- AI hair color changer
- Bangs filter: preview fringe on your photo
- Buzz cut filter: test a close crop
- TikTok hair color filter before you dye
Make the post after you make the comparison
Try one current TikTok effect for the spark, then open the AI hairstyle changer and keep only the preview that makes the haircut choice easy to explain.